How Do I Find Out Where My Roof Is Leaking in Mason City, IA?
Finding a roof leak source takes a systematic approach. The ceiling stain tells you where the water came out — not where it got in. Work through the following steps to trace it back to the actual entry point.
- Locate the interior stain or drip point and note its position relative to the roof above
- Access the attic during daylight and look for water staining, daylight, and wet insulation
- Trace any water staining on rafters or decking uphill from the interior drip point — water travels before it drips
- Check the roof exterior above the stain zone for failed flashing, cracked pipe boots, open seams, and missing shingles
- Inspect all penetrations — chimneys, vents, skylights, and HVAC curbs — within ten feet of the interior stain
- Simulate rain with a garden hose section by section if no active leak is present and the source is still unclear
- Document all findings with photos and get a written leak source report before any repair begins
What Professional Roof Leak Detection in Mason City Actually Involves
A real leak detection visit starts inside — in the attic — not on the roof. The attic reveals water staining on rafters and decking that traces the travel path of the water before it dripped through the ceiling. That path leads back to the actual entry point on the roof. Without the attic trace, a contractor is guessing at the source and patching the wrong spot.
Older Mason City homes near the historic district and East Park often have complex roof planes, multiple old patch repairs, and aging chimney flashing that create leak paths traveling six to ten feet from the actual entry point. A ceiling stain in the middle of a room might be fed by a failed flashing seam at the chimney far up the slope. A-1 Roofing Services Mason City traces the leak back to its real source before any repair starts. What a real detection visit covers:
- Interior attic inspection — water staining, daylight, and wet insulation trace
- Uphill travel path identification along rafters and decking
- Full exterior roof walk starting at the suspected entry zone
- Systematic penetration check — chimney, vents, skylights, and pipe boots
- Valley and seam inspection in the stain zone
- Hose test section by section if the source is not confirmed on the roof walk
- Dated photo documentation of all findings
- Written report with source identification and repair recommendation
Why Roof Leaks Are So Hard to Find Without a Trained Inspector
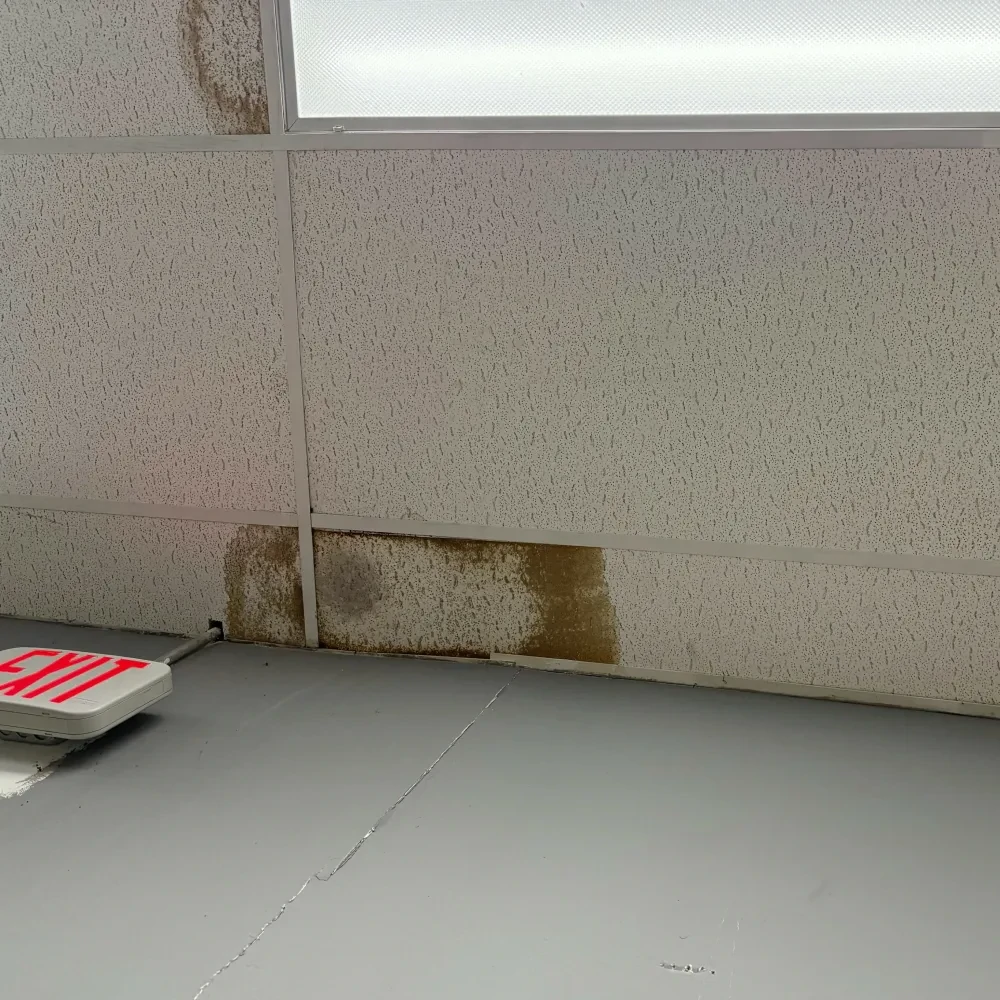
Water does not fall straight down inside a roof structure. It hits the decking, finds the path of least resistance along a rafter or vapor barrier, and follows that path until it drips. The ceiling stain shows where the water came out — not where it got in. Those two spots can be far apart.
Ice dam leaks are the clearest example of this in Mason City. Water backs up under shingles at the eave — sometimes two to three feet from the wall — travels along the decking, and shows up as a ceiling stain inside the exterior wall. The water entry point is at the eave. The ceiling stain is in the bedroom. A contractor who patches the roof above the bedroom stain has not fixed anything. Why leak sources are so often missed:
- Water follows rafters and vapor barriers, not gravity
- Ice dam leaks enter at the eave and exit at the ceiling far inside
- Failed chimney flashing feeds water that shows up four rooms away
- Old patch repairs hide original failure points under layers of caulk
- Penetration leaks at pipe boots and vents look like shingle failures from the outside
- Attic moisture from poor ventilation mimics active leak patterns on ceilings
The Most Common Roof Leak Sources on Mason City Homes and Buildings
Failed chimney flashing is the number one residential leak source we find in Mason City. Chimney flashing seals the joint between the chimney and the roof surface. Temperature swings and chimney settling pull that seal apart over time. Once the flashing opens, every rain sends water into the ceiling below — sometimes a room or two away from the chimney itself.
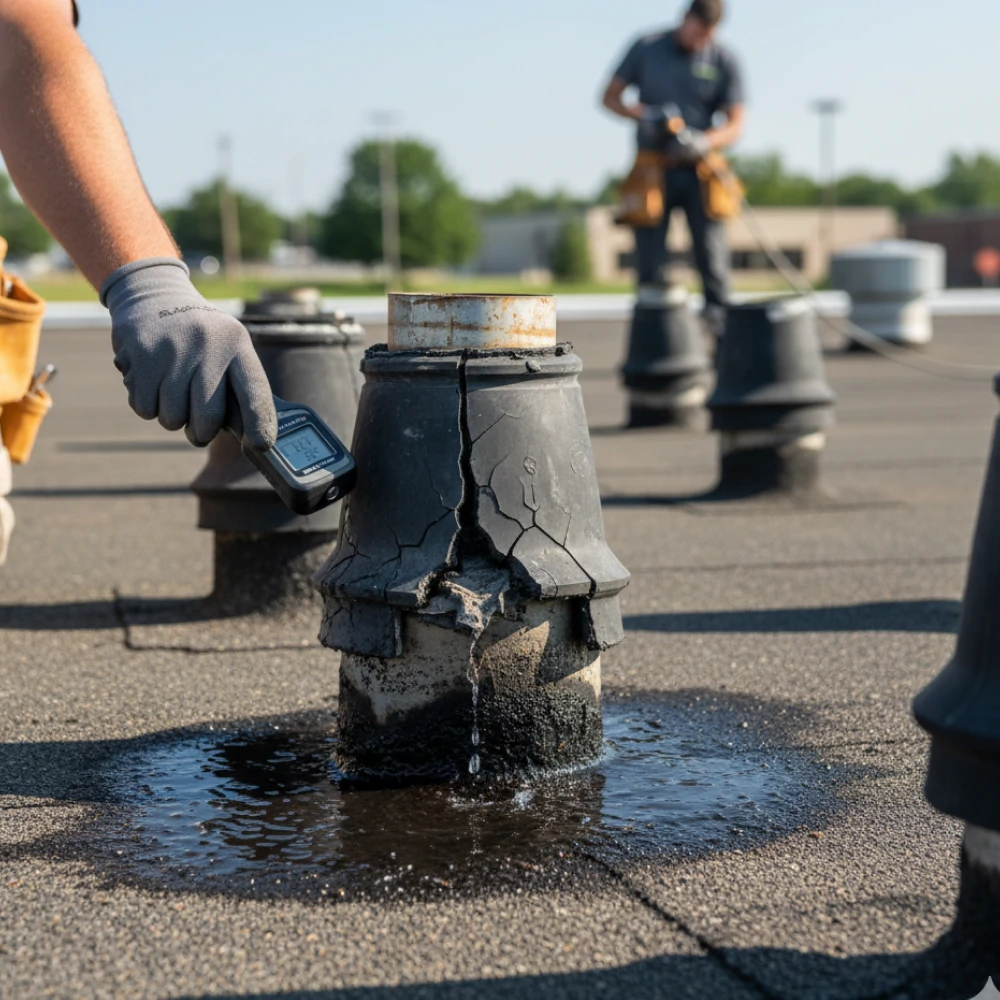
Cracked pipe boots are the second most common source. The rubber boot around each plumbing vent dries out, cracks, and leaks. Ice dam backflow is the top winter call — heavy snow melts during the day, refreezes at the cold eave overnight, and forces water back under the shingles. By the time the homeowner sees a ceiling stain in February, the leak has often been running since December. Other frequent sources:
- Failed step flashing at sidewall and dormer junctions
- Open valley seams where water volume is highest during rain
- Lifted or cracked ridge cap shingles letting water in at the peak
- Skylight frame seal failure — common on older Mason City homes
- HVAC curb flashing failure on commercial buildings
- Membrane seam failure on flat roof sections
What to Expect During a Professional Roof Leak Detection Visit
We start inside. The attic inspection happens before we set foot on the roof. We photograph all water staining, note the direction of the travel path, and identify the zone on the roof where the entry point is most likely. Then we go outside and inspect that zone first — all penetrations, flashing, seams, and shingles within ten feet of the identified entry zone.
Iowa weather affects detection scheduling. Active rain actually helps confirm a leak source when the leak is active — we can sometimes spot the entry point dripping in real time during a rain event. A roof walk is unsafe in high wind or freezing rain. What the detection visit covers:
- Attic inspection — water staining trace and wet insulation identification
- Entry zone identification based on the attic travel path
- Exterior roof walk starting at the identified entry zone
- Systematic penetration check — chimney, vents, pipe boots, and skylights
- Valley and seam inspection in the stain area
- Hose test if the source is not confirmed on the roof walk
- Dated photo documentation of all findings
- Written findings report with source identification and repair recommendation
How to Know If Your Roof Leak Qualifies for an Insurance Claim
Iowa homeowners insurance covers leaks caused by sudden events — hail, wind, fallen trees, and other named perils. Slow leaks from age, deferred maintenance, or normal wear are almost always excluded. The line between the two comes down to documentation tied to a specific storm event. If your Mason City leak showed up after a specific Cerro Gordo County hail or wind event, a licensed contractor can pull National Weather Service storm data to tie the leak to that storm date. What helps an Iowa leak claim:
- A specific dated storm event tied to when the leak appeared
- A written contractor report with photos and storm data
- Filing within the policy claim window — most Iowa policies require one year
- A licensed Iowa contractor who performed the inspection
- No prior unrepaired damage documented at the same location
How to Prevent Roof Leaks Before They Start in North Iowa
Fall maintenance before Mason City's first hard freeze is the most important leak prevention window of the year. Clogged gutters cause ice dams. Unrepaired flashing gaps allow water entry all winter. Poor attic ventilation accelerates ice dam formation and creates decking moisture damage that opens new leak paths every spring. Two inspections per year — April and October — catch the developing problems that turn into emergency calls. Habits that prevent most Mason City roof leaks:
- Spring inspection in April after freeze-thaw season
- Fall inspection in October before the first freeze
- Gutter and downspout cleaning every spring and fall
- Attic ventilation check at every inspection
- Pipe boot replacement when rubber shows cracking
- Flashing reseal at the first sign of caulk separation
- Branch trimming to keep debris off the roof surface
- Documentation of every check for warranty and insurance records